How to Create an Estimate/Quote in the Invoice Temple Android App
Do you need help with creating invoices on your own?
Can invoices create within minutes?
Yes, with the help of invoice-automated software. This software prepares both invoices and estimates for the clients in minutes.
We are here to solve your problem with our estimating software called Invoice Temple- available in both desktop and mobile versions. This guide will explain how to create an estimate through the Invoice Temple Android app. Let us see this in detail.
What is An Estimate?
An estimate is a rough document sent to the clients to know the actual value of the products or services purchased from us. Estimates are issued during the initial sales period. Once the client receives the document, he can negotiate the pricing and make changes to their purchase items sooner or later.
Benefits of An Estimate
- Clients get an idea about their purchasing cost
- Clients can negotiate the pricing and make corrections in the estimates before the invoice creation
- Estimates allow the clients to make an advance payment prior
- Estimates help the sellers to get approval from the buyer's side
- Estimates avoid errors. It maintains a cordial relationship between buyer and seller.
Guide for Creating Estimates/Quotes Through the Invoice Temple App:
Here is a step-by-step guide on how to create estimates/quotes with the help of the Invoice Temple:
Step 1: Download the Invoice Temple Android app from the Play Store. Select the app and complete the signup procedure
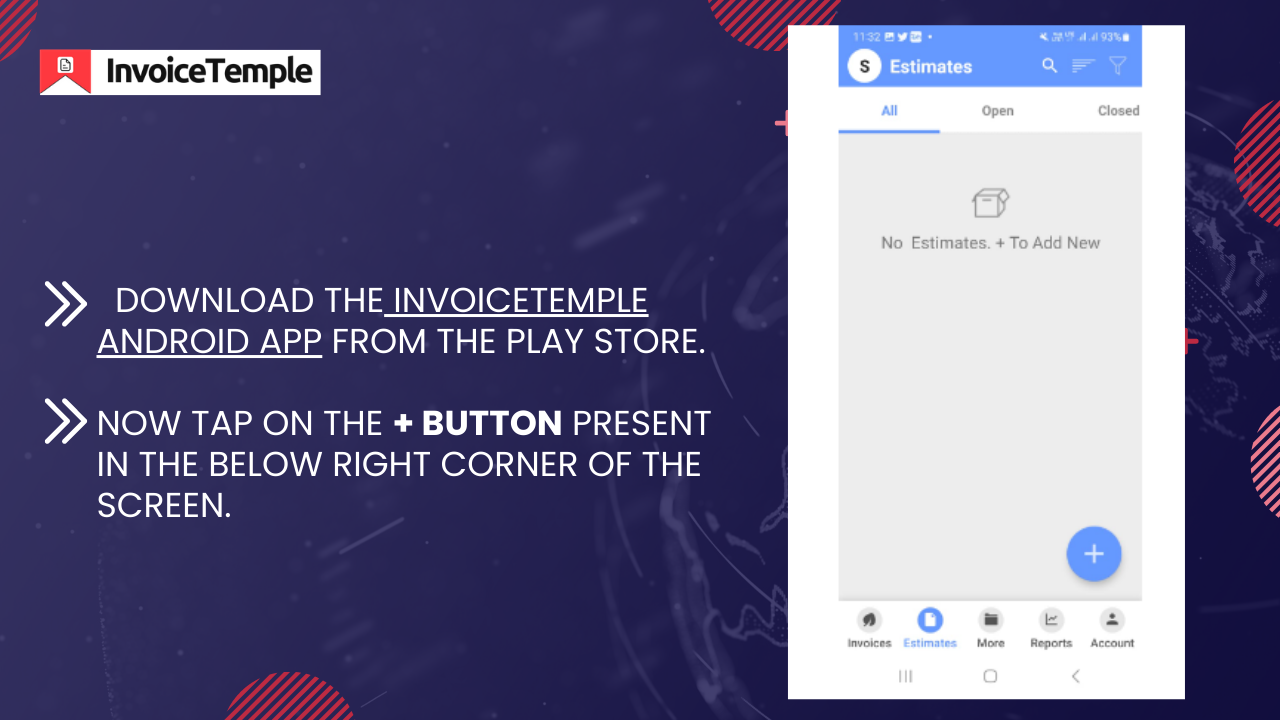
Step 2: A new screen will appear. You can see many options available at the bottom of the screen. Click on estimates present next to Invoices. Again a new screen will appear in the name of estimates.
Step 3: Now tap on the + button present in the below right corner of the screen.
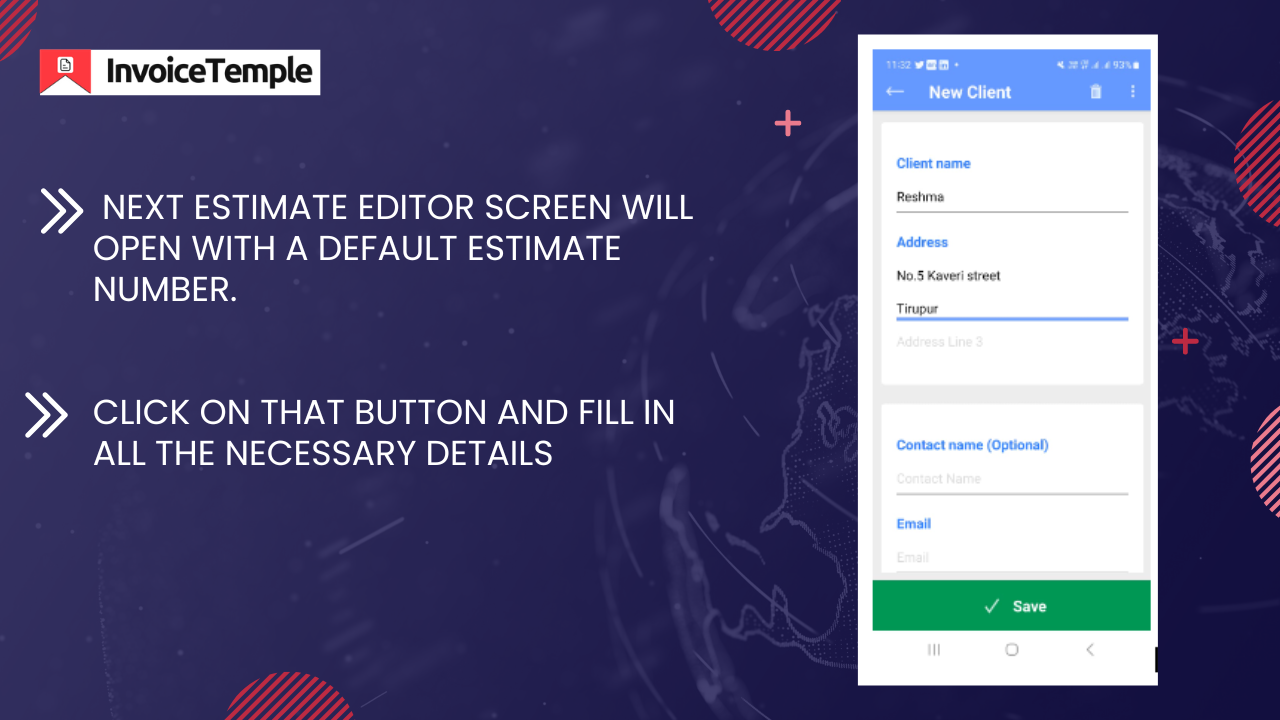
Step 4: Next Estimate Editor screen will open with a default estimate number. And Bill to section is present next to estimate no. Click that button and enter your client's name, address, contact number, email, and shipping information.
Step 5: Once you've entered the customer information, click the green Add button below the items list.
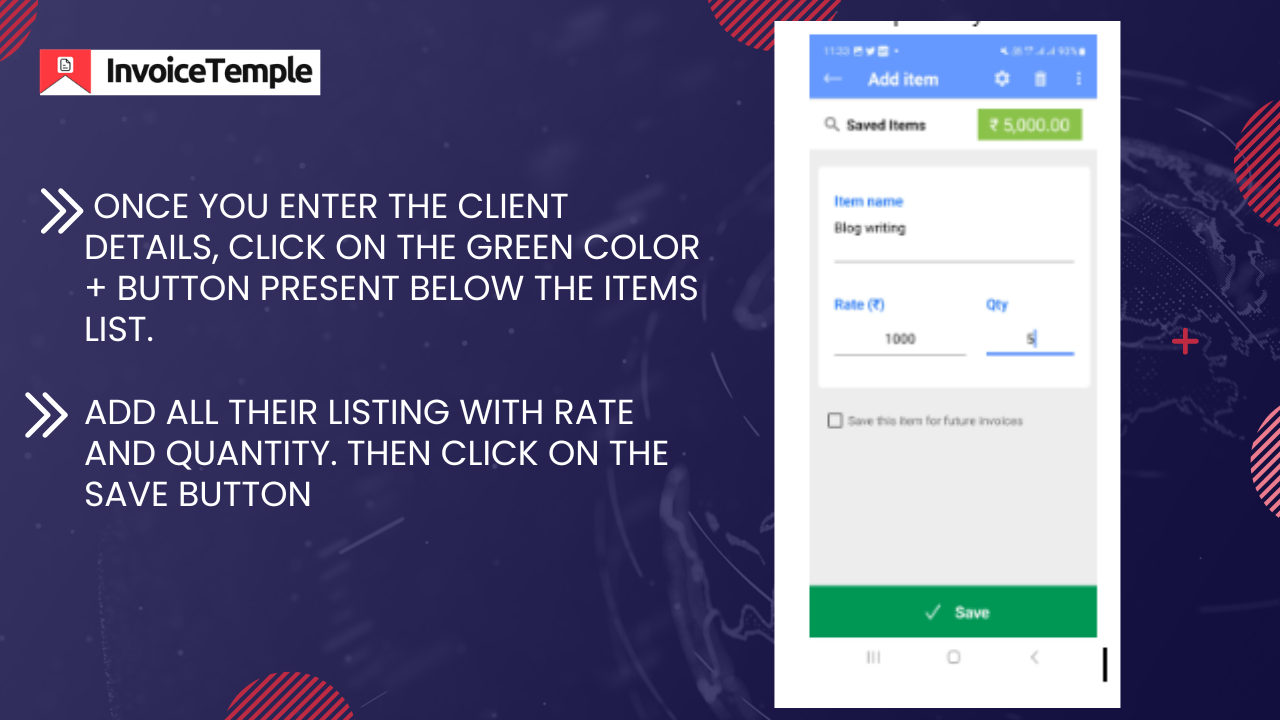
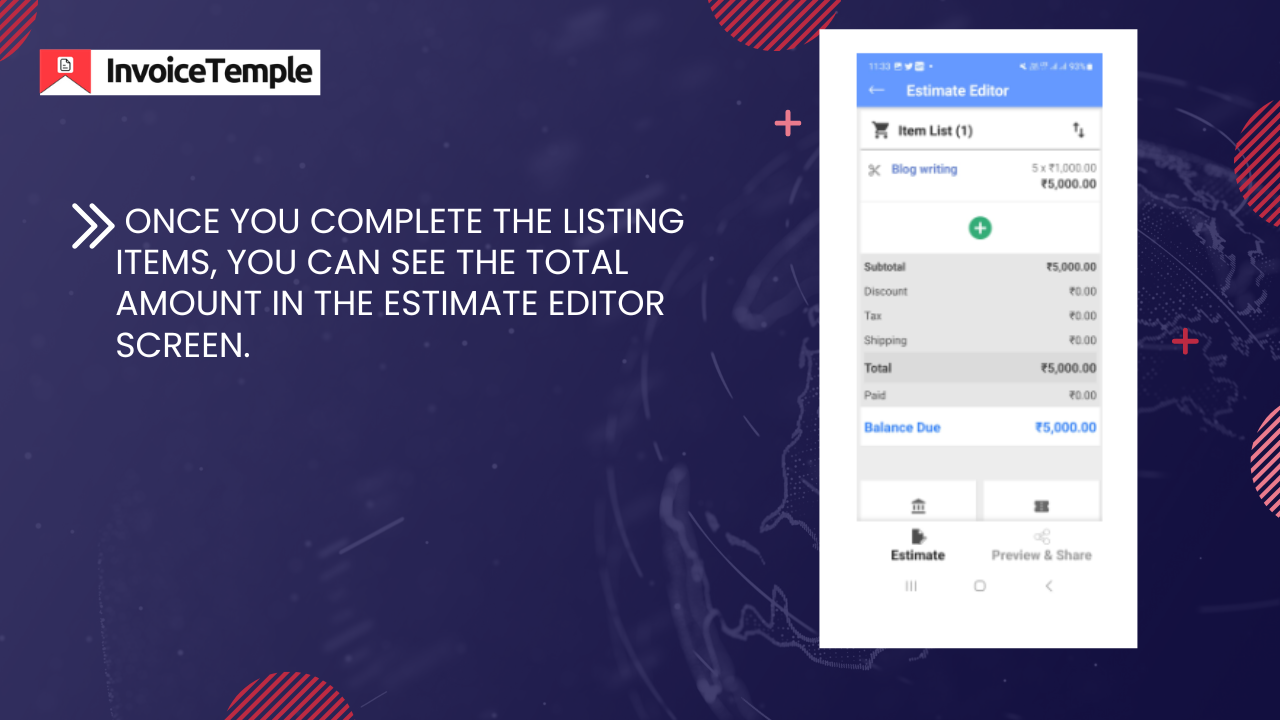
Step 6: Once you complete the listing items, you can see the total amount in the estimate editor screen.
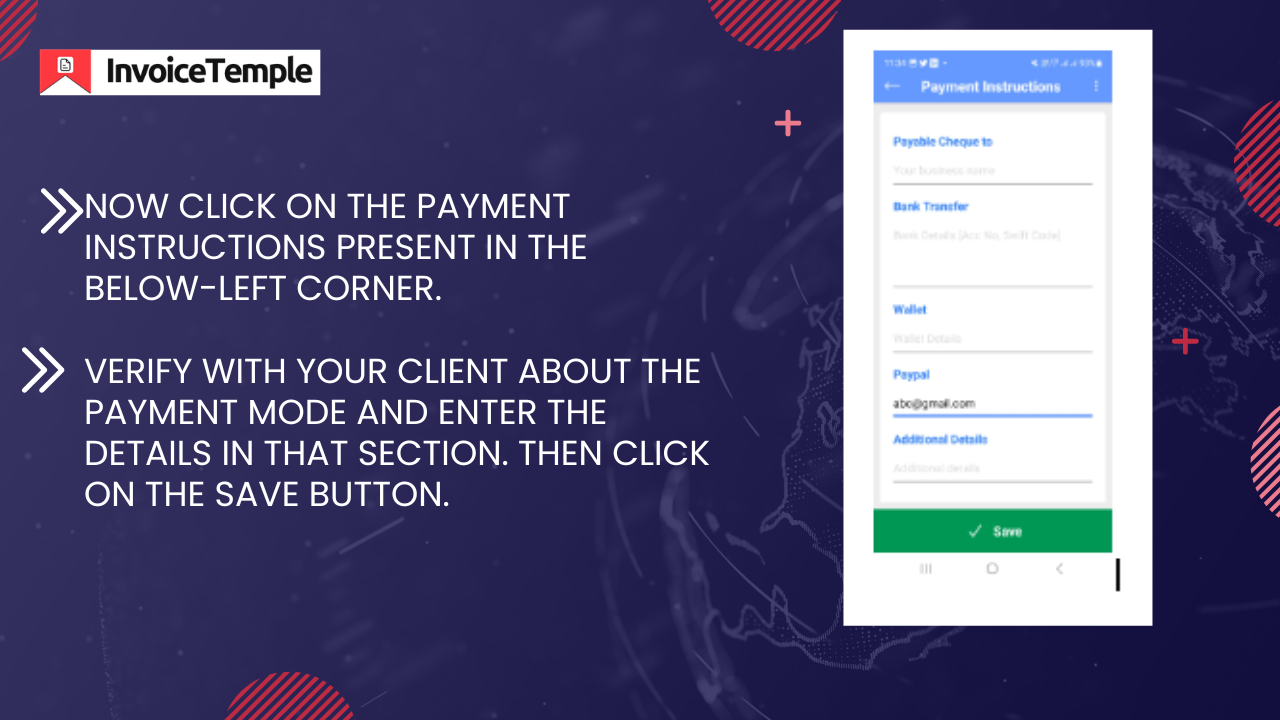
Step 7: Now click on the payment instructions present in the below left corner. Click on that button and you can see a list of payment options such as cheque, bank transfer, wallet, and Paypal. Verify with your client about the payment mode and enter the details in that section. Then click on the save button.
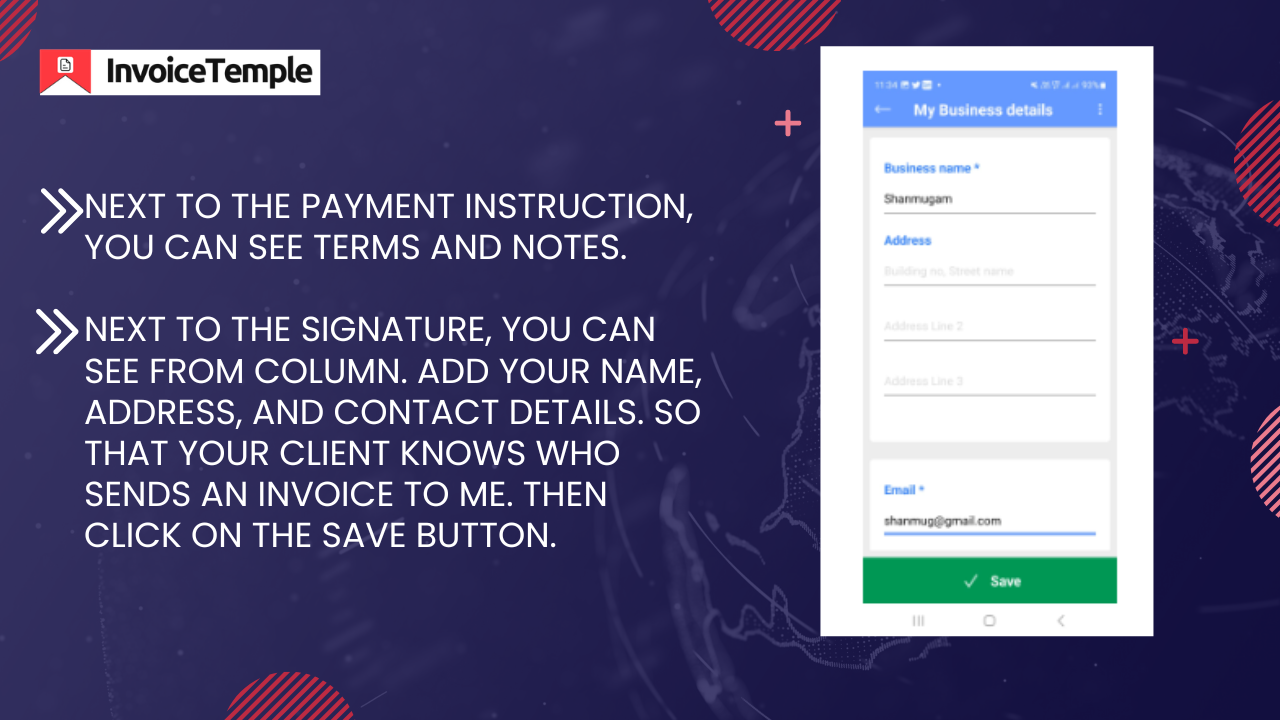
Step 8: Next to the payment instruction, you can see terms and notes. If you want, add your company terms and conditions to avoid conflict with your client.
Step 9: Add your company signature to avoid last-minute risks
Step 10: Next to the signature, you can see From column. Add your name, address, and contact details. So that your client knows who sends an invoice to me. Then click on the save button.
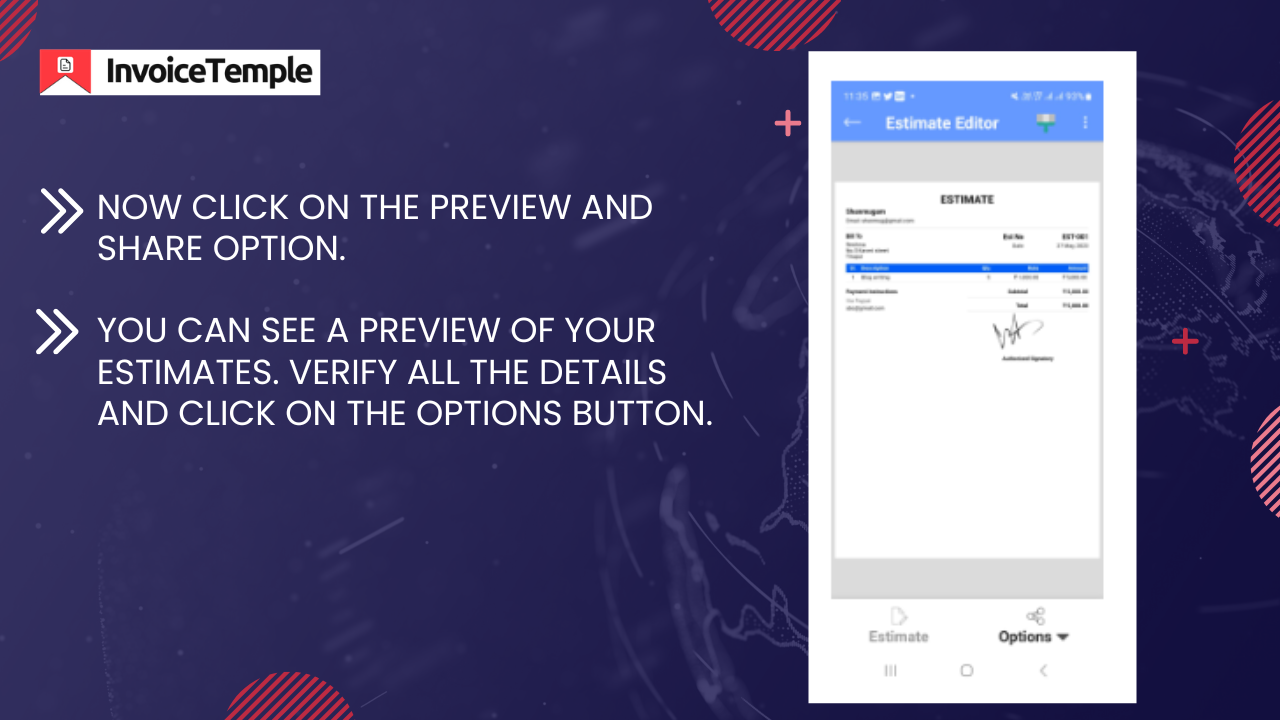
Step 11: Now click on the preview and share option. You can see a preview of your estimates. Check all of the details and then click the Options button.
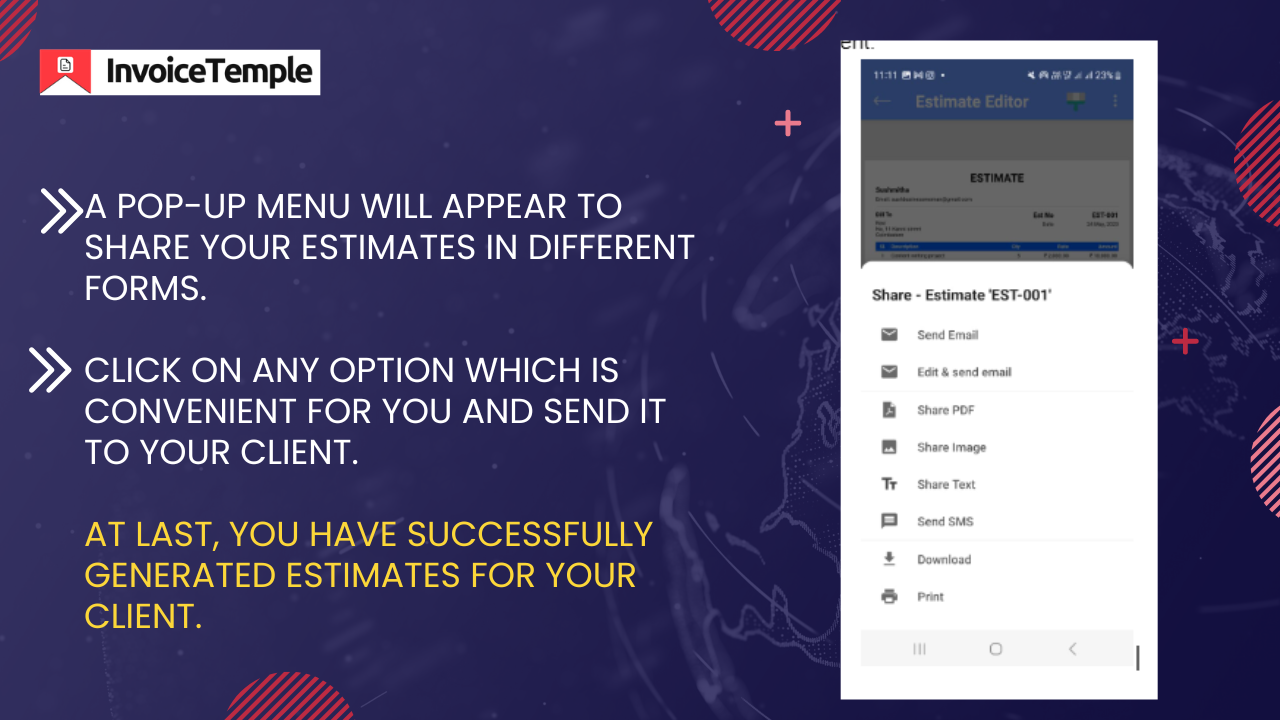
Step 12: A pop-up menu will appear to share your estimates in several formats. Select any option that is convenient for you and send it to your client. Finally, you have successfully generated estimates for your client.
How to Convert an Estimate Into an Invoice
Once your client is satisfied with your estimates, it is the right time to convert the estimate into an invoice.
Again I have to go from scratch? No, you can easily convert the estimates into an invoice with some clicks. Here is a step-by-step guide:
- Go to the estimates section and long-press the estimates that you create.
- Then you can see a lot of options. Select convert to invoice. So your invoice is ready with a single click. It is as simple as that.
Closing Thoughts
Invoice Temple is one of the simplest platforms to create professional invoices trusted by over 42000+ business owners in the market.
This simple and user-friendly app helps create invoices in minutes and track your monthly financial report. Then why are you waiting for? Download our Invoice Temple app from the play store and create invoices with clicks and send it to your clients within a few minutes,
