How To Write Your First Estimate/Quotation
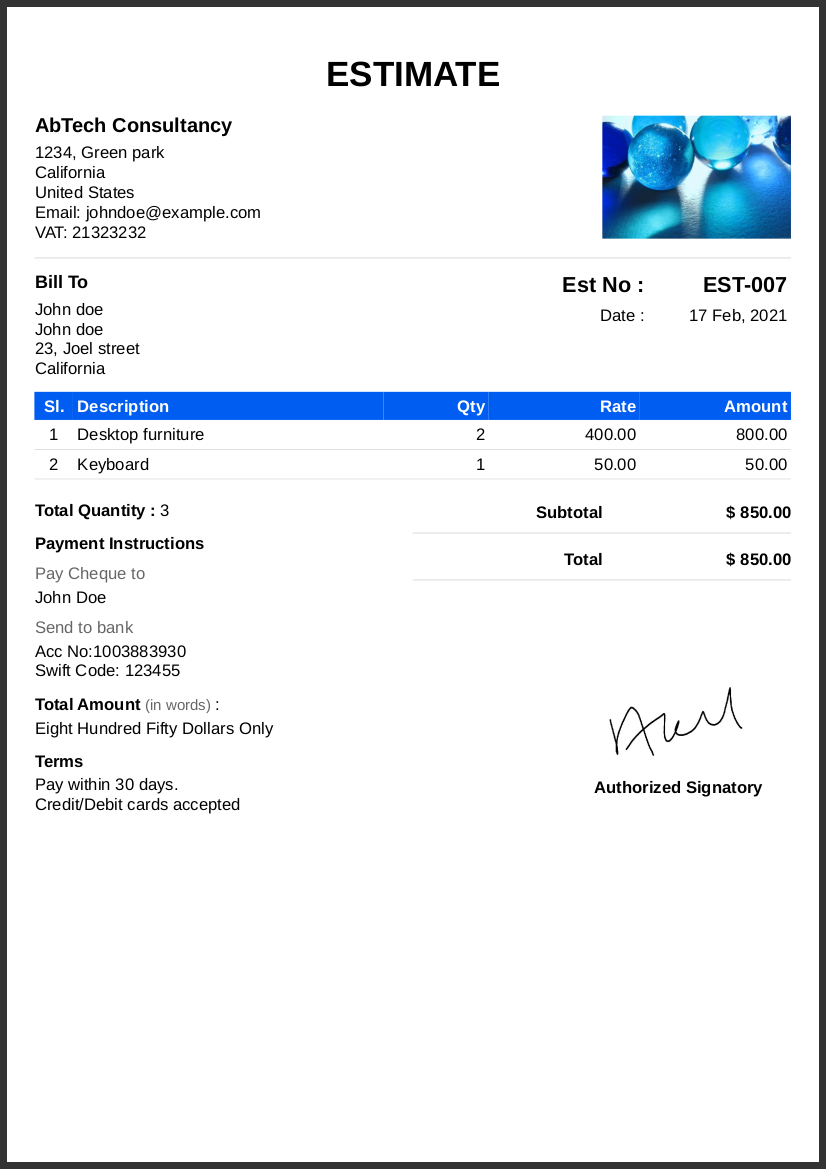
Estimate/Quotation have some fixed prices of the product where the seller is offering.
The buyer can accept the quotation when they satisfied with the price and terms and conditions of the seller who offer the service/products.
When the estimate is accepted by the customer that quotation document can be converted to valid invoice.
Here we going to see how easily the quotation created on Invoice Temple web console.
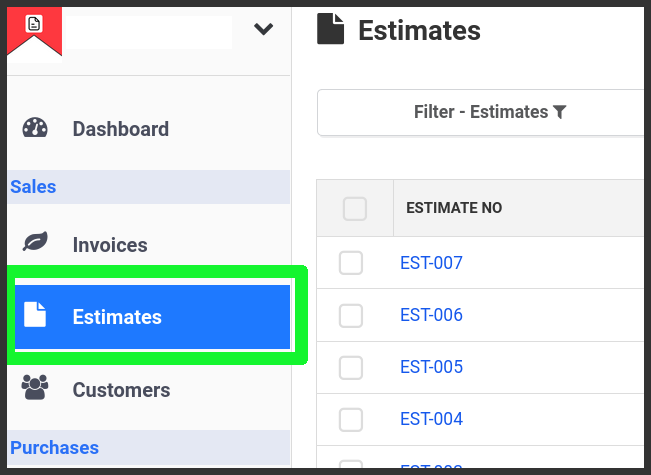
1.Go to the Estimates on the left side menu
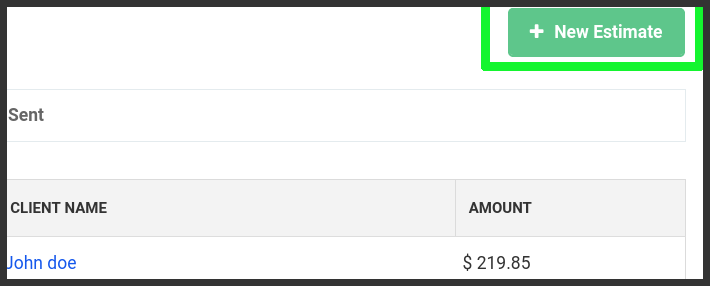
2. Click New Estimate button to open estimate editor
The estimate contains major 5 sections which are,
- Seller's name and address
- Client Details (Name, email, phone, address)
- Estimate Date
- Products
- Terms and conditions
3. Seller name and address
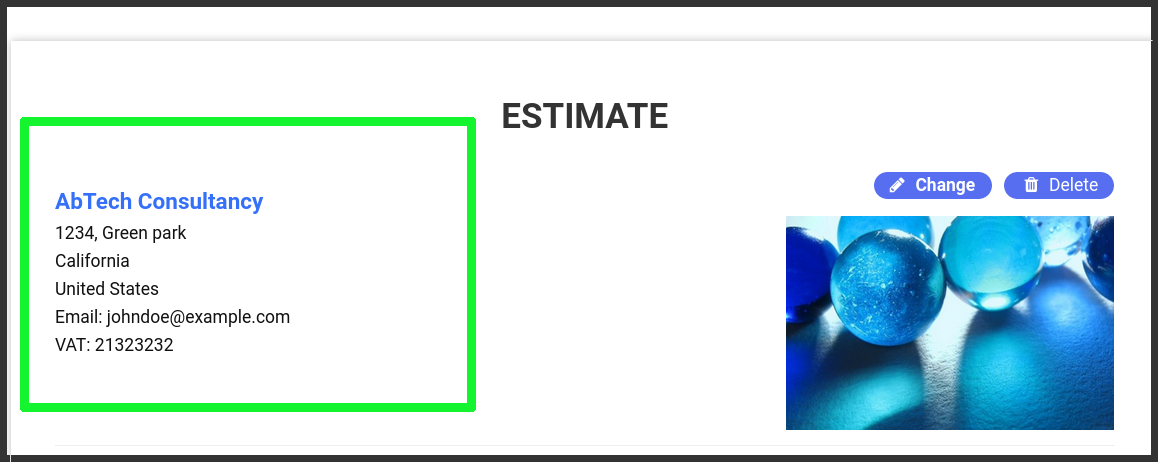
Go to the document and enter seller details business name, address, mobile no, email, website address, business no. if you have any.
4. Client Details

Client/customer whom you provide the product or service. Provide their name, address, email etc.
Client name is mandatory to create an estimate/quotation.
4. Estimate Number and Date
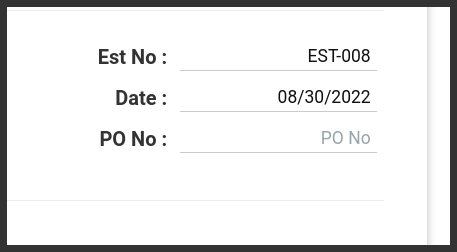
A unique estimate no. you have to provide on the estimate.
Estimate date is important and represent when you issued the document to the client.
5. Add Products on the item table
Please enter the products one by one. A product is contain the following details.
- Product name/description
- Quantity
- Price
- Total Amount

6. Terms and conditions.
A small business have variable terms include how you want to paid and when.
- What methods you would like to have the payments?
- Accept credit/debit cards
- How many days customer has to pay the full or partial amount?
- Over due penality and extra charges details.
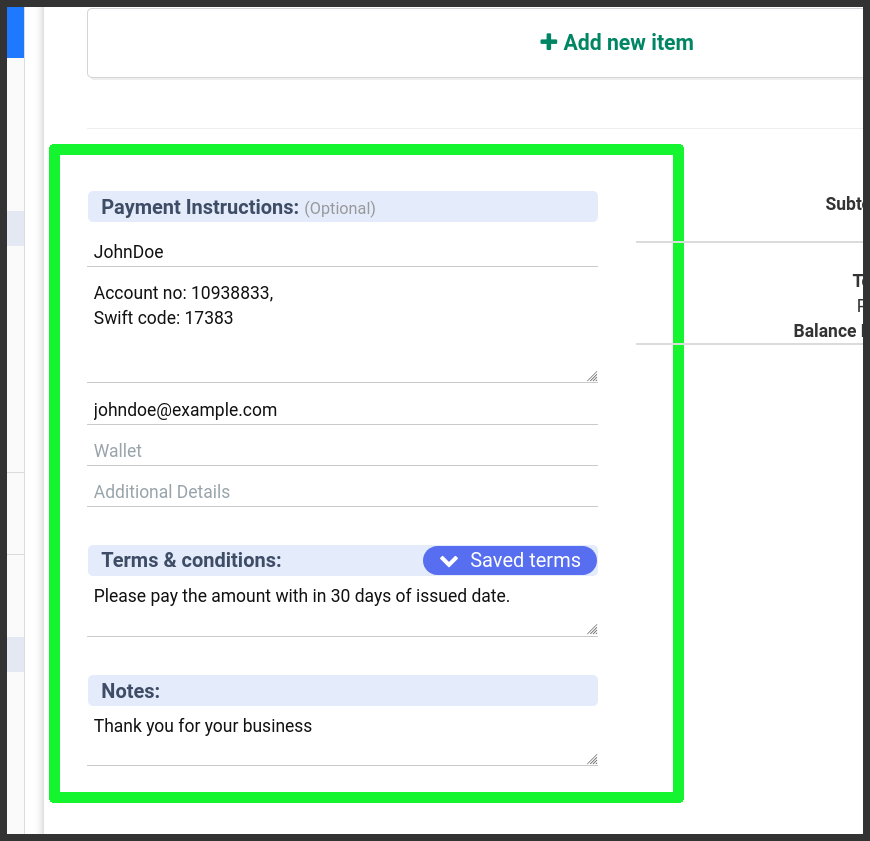
Add notes
Say thanks to to your customer on the notes sections. This section you can give your personal touch to the client. Tell the scope of your project also you can add timeline and completion date if needed.
Additional details.
- In estimate document you can provide purchase order no for the future reference.
- Add signature/seal of the seller
- Add business address if you have one
- Add your sales tax no.
7. Preview and save
After filled all details go to Preview to see everything alright. After confirming click save on the top.
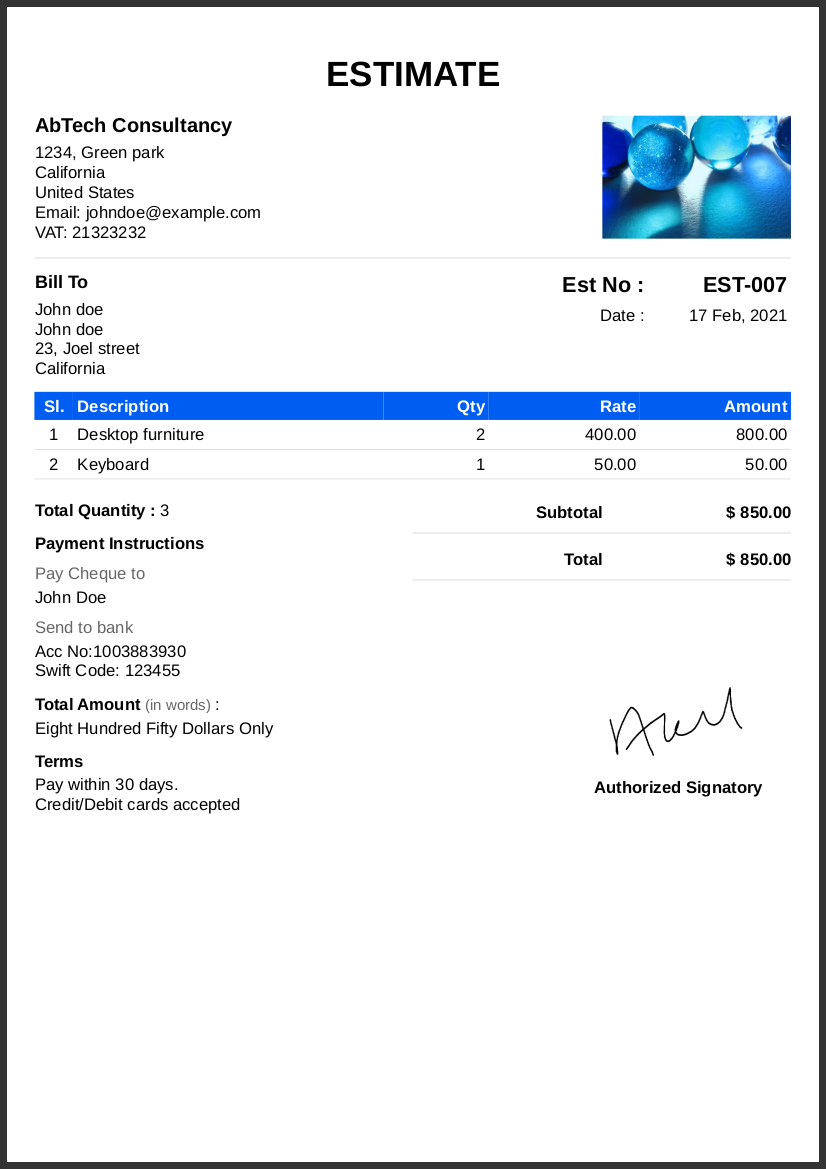
Once estimate is saved and it is ready to send to your customer. Thats all.
Thanks
